


- Qinsun Instruments Co., Ltd.
- Tell:+86-21-6780 0179
- Phone:+86-17740808215
- Address:No. 2578 Minhang District Gu Dai Road, Shanghai
- Contact:Mr. Li
- QQ:846490659
How to Perform a Fogging Test in Automotive Testing: Step-by-Step Guide?
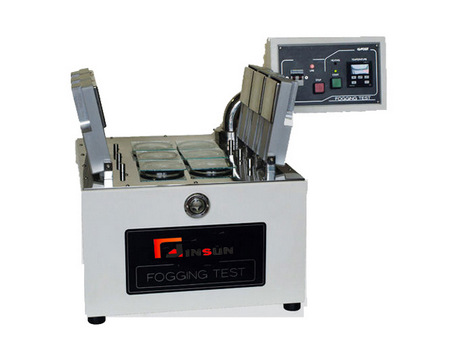
Performing a fogging test in automotive testing helps evaluate the potential for fogging or condensation on various surfaces inside a vehicle. Here is a step-by-step guide on how to conduct a fogging test:
Step 1: Preparation
- Gather the necessary equipment: fogging test chamber, temperature and humidity sensors, test samples, stopwatch, and a data recording system.
- Ensure the test chamber is clean and free from any contaminants.
- Set the desired testing conditions, including temperature and humidity levels.
Step 2: Sample Preparation
- Select the surfaces or materials to be tested, such as the windshield, dashboard, or interior trim.
- Cut the test samples into appropriate sizes to fit the test chamber.
- Clean the samples thoroughly to remove any dirt, oils, or residues that could affect the test results.
Step 3: Test Setup
- Place the prepared samples inside the fogging test chamber, ensuring they are positioned correctly and securely.
- Install the temperature and humidity sensors in the chamber to monitor the testing conditions accurately.
- Close the chamber and ensure it is properly sealed to prevent any external interference.
Step 4: Test Execution
- Start the fogging test by initiating the controlled temperature and humidity conditions within the chamber.
- Allow the test to run for a predetermined duration, typically several hours, to simulate real-world conditions.
- During the test, monitor the temperature and humidity levels closely to ensure they remain consistent.
Step 5: Observation and Data Recording
- After the test duration, open the chamber and carefully remove the test samples.
- Inspect the samples for any signs of fogging, condensation, or residue formation.
- Use visual inspection, photography, or specialized measurement tools to document and record the results accurately.
- Record the test data, including the temperature, humidity levels, and any observations made during the test.
Step 6: Analysis and Reporting
- Analyze the test results to determine the extent of fogging or condensation on the tested surfaces.
- Compare the results against specified standards or acceptance criteria.
- Prepare a comprehensive report summarizing the test procedure, conditions, observations, and conclusions.
Remember, this is a general guide, and specific testing procedures may vary depending on the testing standards, equipment, and requirements of your automotive testing facility.
For more information about the fogging test automotive, please leave a message online, We will provide a quotation within 24 hours, welcome to inquire!