


- Qinsun Instruments Co., Ltd.
- Tell:+86-21-6780 0179
- Phone:+86-17740808215
- Address:No. 2578 Minhang District Gu Dai Road, Shanghai
- Contact:Mr. Li
- QQ:846490659
Din Abrasion Tester steps to change sandpaper
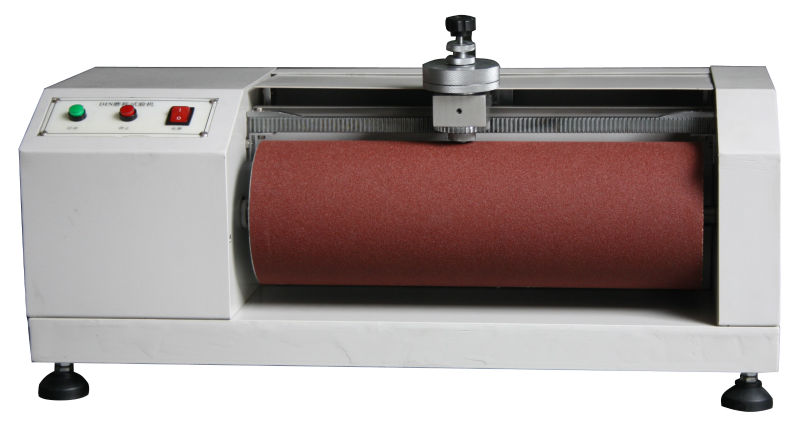
Din Abrasion Tester is suitable for the abrasion test of elastic material, rubber, tire, conveyor belt, transmission belt, shoe sole, soft synthetic leather, leather...etc.
Din Abrasion Tester 5 steps to replace the sandpaper:
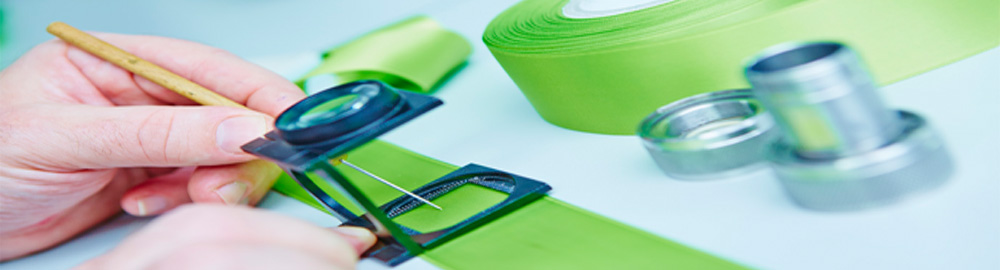
1. Take a length of 473mm, sandpaper, width at least 400mm, but not more than the length of the drum, average thickness of about 0.2mm.
2. Take three pieces of double-sided tape equal to the length of the drum, with a thickness of no more than 0.2 mm and a width of 25-50 mm, and stick them evenly on the surface of the drum, each piece of double-sided tape should be parallel to the axis of the drum.
3. When fixing the sandpaper, the arrow on the back of the sandpaper should face the rear of the machine and must be firmly attached to the drum. The front and back ends of the sandpaper must be aligned and parallel to the roller axis.
4. When gluing the two ends of the sandpaper, the gap should be less than 2mm, but should not overlap.
5. The replaced sandpaper must be sanded once or twice (without load) with a metal sheet.
Attention
-One of the double-sided adhesive tapes is being bonded at both ends of the sandpaper.
-The drum must be kept dust-free and clean. When replacing the old sandpaper, clean the double-sided tape on the drum.
-Abrasive sandpaper is clean.
-The sandpaper abrasive grain wear is corrected with standard adhesive to 180mg~22.